I smile yet I do not feel like smiling that much. I had a major snafu with the computer when trying to re-load and configure the firmata software which would run the lights , via arduino, and the sound files, in sync, through Processing. It has all been very frustrating. Especially when it seemed to be working properly before then I am not sure what happened but the upshot of all the searching, reading, running programs, looking at tutorials and constant emails to Professor Turkel is that there is something wrong with the serial port. The recommendations I read on, http://wiki.processing.org/w/Serial_Issues gave instructions that were helpful to a point for a computer illiterate such as myself. I have literally spent the last 8 hours, or so, today and about the same amount of time yesterday trying to get everything in the one Processing Sketch. But alas, the computer will not completely read everything correctly and I am not knowledgeable enough to fix it in time for my final demonstration, :(.
However, I do have pics to share of the last stages I did in the last couple weeks with the scene, the lights and now setting the final codes I will use tomorrow. I say codes, plural, because although I do not have everything in one neat package at the hit of a button, I now have everything ready to play separately.
I took the Array example code and manipulated three different sketches of the same program.
Array, the example, loops six LEDs in a blinking pattern. The initial time between each is 100ms.
I have still adjusted the scene to using four lights, instead of five, but in different ways. The first code sketch I have called Exhibition1 has an array code with timing set to 0, the int. set pins are adjusted to four pin numbered 7,6,5,4, and the int. pinCount is adjusted to 4. With the timing set to 0 all four lights stay on which coincides with the sound file describing the Exhibition of 1851 history.
The next sketch, Exhibition2, is set to light three aspects of the scene, the presenter, the press, and a background which coincides with the Crystal Palace history.
In this sketch the timing is set to 15000 which gives a lot of time between each light. This supplies enough time to play the soundfile for Crystal history first, the presenter and his description of the press second and the printing press last.
The int. set pins are adjusted to 6,5,4. with the int. pinCount adjusted to 3.
The third sketch is coded with the Array adjusted back to blinking but with the timing set to 300 to slow down the blink. I have also taken out the backward loop along the numbers so that the blinking only occurs in one direction from 7,6,5,4, then back in that order instead of back 4,5,6,7. This blinking will coincide with the last sound file that has applause.
In the end, although i did not master all the tech, I have certainly learned a lot. When I realised that I would have to use multi sketches I started looking through the arduino site which took me to combining sketches in Arduino> BuildProcess.
I tried to create tabs in the one sketch but when I tried to upload the code into the tab it would not work. I believe that because I changed the parameters of the code the upload cannot read it all. So I have saved three individual sketches to run with the demo.
setting up the lights in the box was very interesting and fun. After preparing the box to place the arduino and breadboard in the box I wired up the set, and began to place the lights in the box, highlighting the different aspects of the scene. When I first experimented with the Array light set-up a little while ago i noticed how dim the lights are. I thought, "well that is all I am going to get." Then when I began placing them in the box i was thinking there must be something else I can do so I started looking and reading what to do. I learned about the resistors and the different meanings of the colour codes on the resistors. The lower the Ohm's (the amount of the resistance is equal to the voltage divided by current), the lower the resistance, meaning a brighter light. Which is great. However, it is still not as bright as I would like. i thought about taking the resistors out but I am not completely sure I understood the right way to put the lights in the board and I do not want to blow another light.
I very much want to finish this project. In the end I cannot by tomorrow because of the computer problems occurring at such a late date. Time caught up to me. However, I am buying an arduino after this and I am going to get this working the way I envisioned. I am even going to set it up further with a motor off a battery and the arduino that will open curtains. I am also going to put a motion sensor so that all a child has to do is stand in front and wave his/her hand. With this wave the curtain will open and the program will begin through one sketch, Processing. For now this is what I have accomplished. Although it is not what I pictured I am excited that I, the computer illiterate, made this from scratch, :)))
Take a final look, well for the date tomorrow. I will post again when I begin to work again, :)))
 |
| just trying out different light codes, :)) |
 |
| preparing the box for the USB cord and placing the arduino!! |
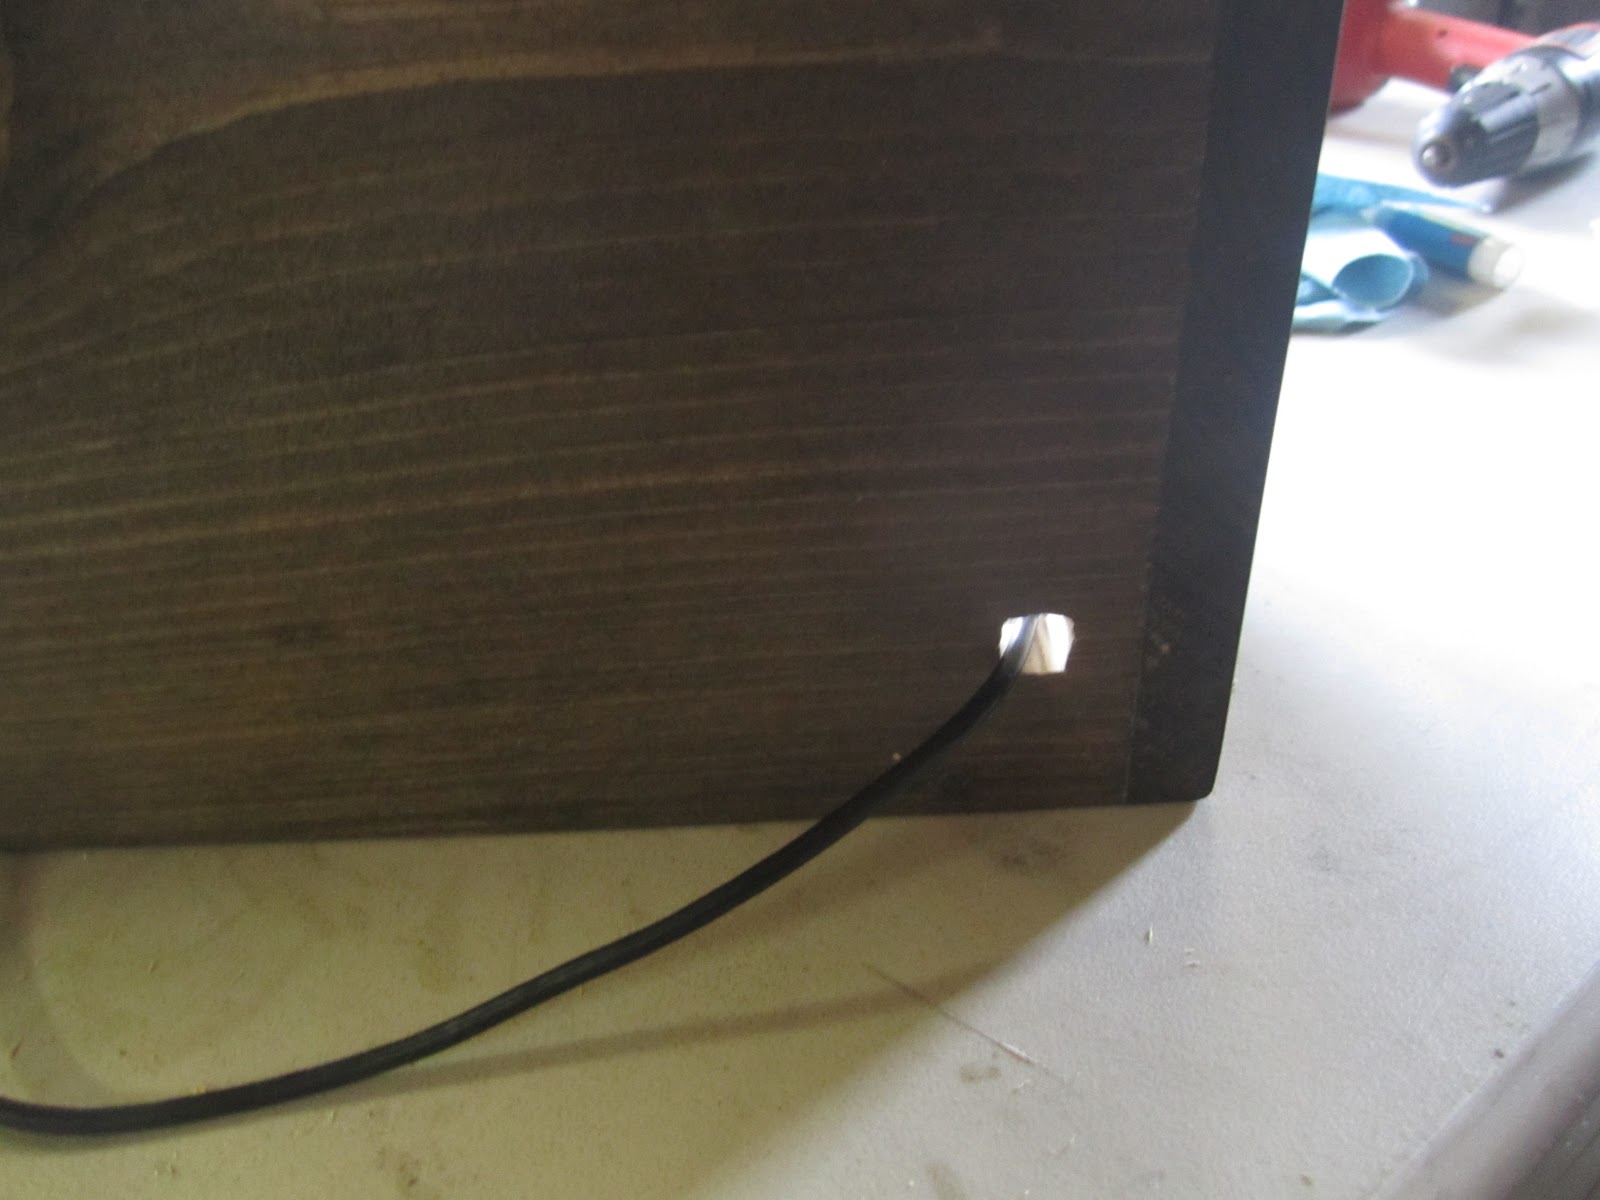 |
| the perfect hole, :)) |
 |
| 3-D effect finished!! |
 |
| The lights are too dim, starting on one to see the difference, :) |
 |
| All the lights are as bright as they are going to get. |
 |
| The attached arduino and breadboard. fits perfectly!!! |
 |
| lights on the bottom, attached to placed nails and wound around then taped. I can lean the lights where I want them :)) |
 |
| Lights on top, taped in place and aimed for best light!! |
 |
| Exhibition1 code. |
 |
| Exhibition2 code. |
 |
| Exhibition3 code. |
 |
| Finished product!!!!! |
No comments:
Post a Comment